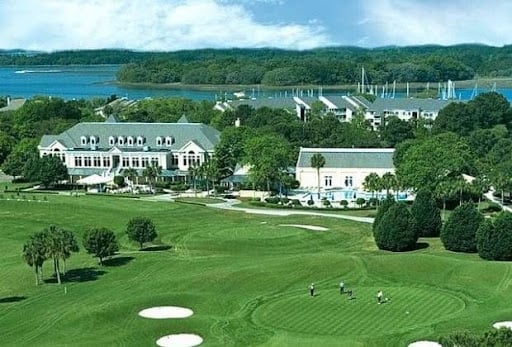
Of the three sister courses that stretch throughout the natural oceanfront beauty of Palmetto Dunes, the George Fazio course has always seemed like the quieter sibling. Robert Trent Jones gets its flowers for the way its challenging fairways stretch to unmatched ocean views, Arthur Hills represents a masterclass in strategic play, but the George Fazio course keeps a lower profile. But that may because, to the average golfer, it is easily the most challenging.
The only par-70 public golf course on Hilton Head Island, the course that iconic architect George Fazio built here in 1974 represents a demanding test of both skill and strategy. It doesn’t demand your attention through gimmicky layouts, just your precision in navigating its 6,900 yards of long par fours, unforgiving part threes, sneaky bunkers and challenging green complexes. Every round here is a test, and there’s no grading on a curve.
But what lends intrigue to this course is the way that its difficulty feels earned. It’s not accomplished through excessive forced carries or artificial obstacles, but in the way it wears you down with length, positioning and precision. If you’re not going to bring your A game, this is a course that will quickly let you know.
Learn more about the course and reserve your time at their official website, George Fazio Course at Palmetto Dunes.
The Island's Toughest Public Test
The Fazio Course is one that truly separates the wheat from the chaff. There are only two par fives on the entire course, meaning there are relatively few opportunities to recover strokes by being aggressive with your second shot or shooting for an eagle. Instead, you have to consistently answer the challenge presented by the long par fours and demanding part threes.
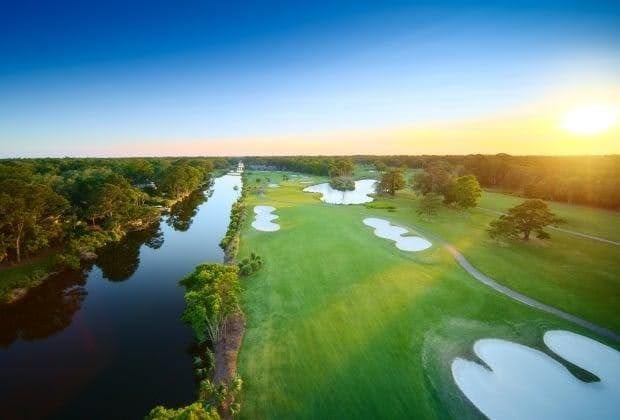
In crafting this course, Fazio didn’t simply make holes long and call it a day, although several of them do stretch beyond the 400-yard mark. To that length, he created conditions that demand quality tee shots if players are to have any expectations of par. At strategic points in those stretches, fairways narrow, bunkers eliminate attractive approach angles, trees prohibit shortcuts and well-placed lagoons punish careless decision-making. That said, the way they are introduced to the layout never overwhelms. But that doesn’t mean they don’t occasionally frustrate.
Of course, the final challenge on any hole comes from the greens, and here Fazio created a gauntlet of elevated, narrow and heavily protected putting surfaces that deflate birdie hopes at every turn. Landing on the correct part of the green, reading the challenge it presents in advanced, is crucial. Don’t think of it as missing out on a birdie. Think of it as achieving a well-earned par.
A Quietly Beautiful Lowcountry Course
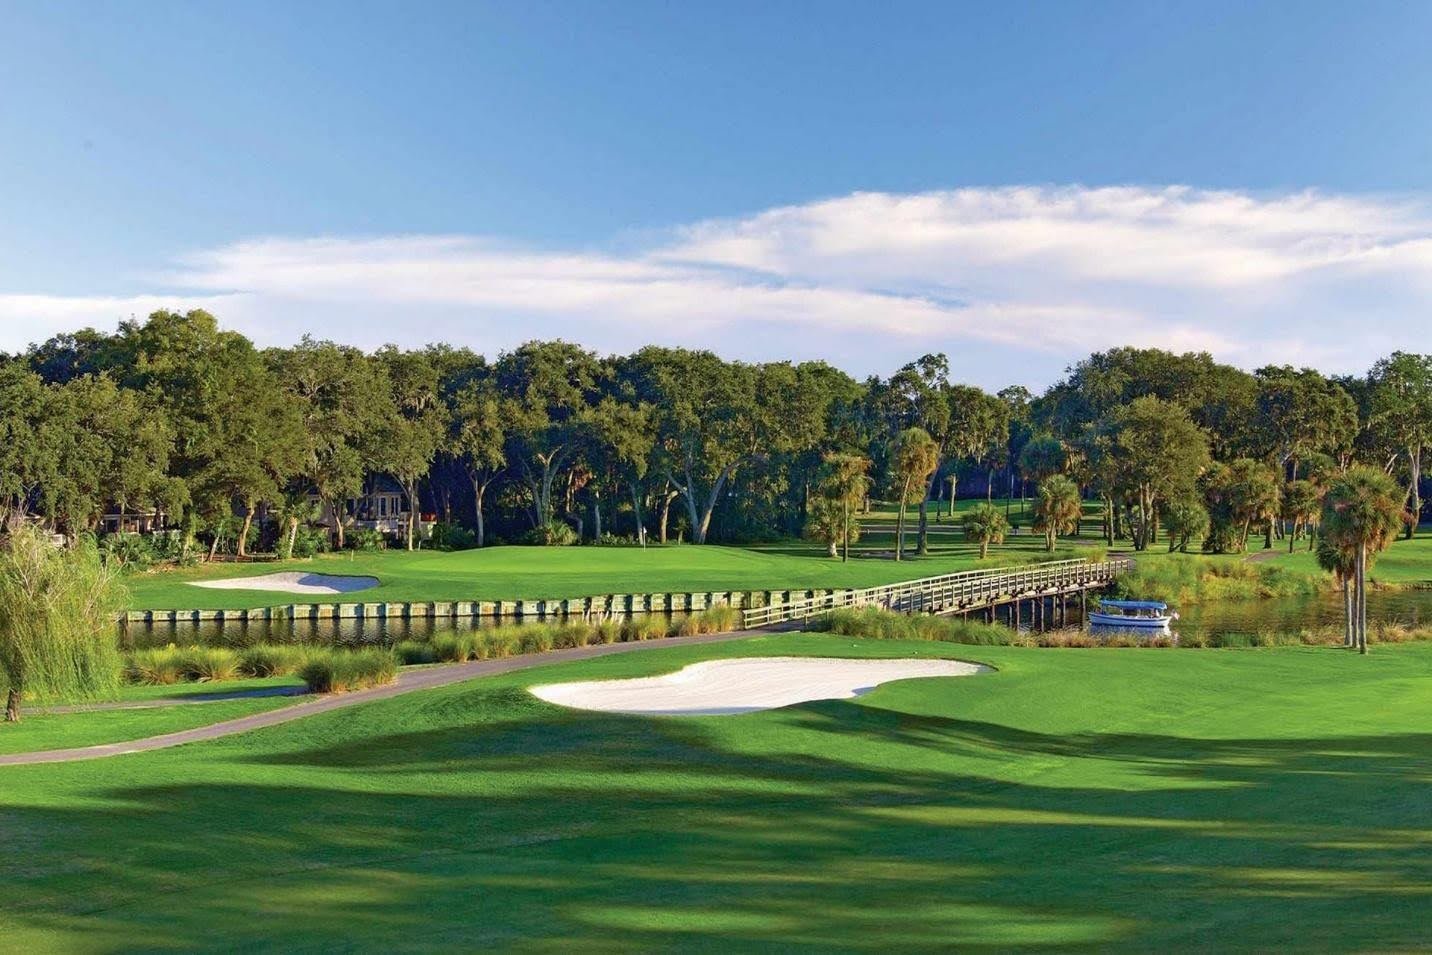
While the Fazio course will definitely expose any flaws in your tee shot, it will do so while surrounding you with serenely beautiful Lowcountry scenery. Sure, that beauty can be easy to overlook, lacking the dramatic ocean views of its siblings, but it represents a more subdued beauty, with tranquil lagoons and wetlands, native plants and sprawling live oaks. While crafting a course that would offer a singular challenge, Fazio also played into this scenery, integrating hazards into the natural routing in a way that creates a real sense of place.
And therein lies the course’s charm. Its not flashy. It doesn’t lend itself to Instagram posts the way others might. Instead, it just frames natural beauty around really, really good golf. A multi-dimensional challenge that tests your game while surrounding you with subtle beauty.
It’s the island’s most underrated test, ready to take on all challengers.
Hole-by-Hole
Hole 1: Par 4, 432 yards from the gold tees
A hole that can vary greatly depending on the wind, finding par on the first hole requires driving right off the tee, then avoiding the OB on the left of the green.
Hole 2: Par 5, 562 yards from the gold tees
Lay up 150-100 yards right off the tee, then take two to get to the well-guarded green ringed by a bunker, a tree and water.
Hole 3: Par 4, 412 yards from the gold tees
With bunkers flanking the fairway, you’ll want to play to 150 yards out. Two more bunkers guard the deep, elevated green.
Hole 4: Par 3, 205 yards from the gold tees
Two bunkers short on the left of the two-tiered elevated green creates a situation where club choice is crucial to avoid the OB to the left of the green.
Hole 5: Par 4, 389 yards from the gold tees
Staying right again off the green keeps you away from tall trees lining the fairway, while giving you a clear route to the tricky green.
Hole 6: Par 3, 180 yards from the gold tees
This hole’s biggest challenge is in the breezes which can whip through in wildly different directions. If the breeze allows, keep it long and left to play it safe.
Hole 7: Par 4, 414 yards from the gold tees
A wide downhill fairway provides an opportunity to show off your new driver, even if the breezes on the approach shot to the elevated green humble you soon after.
Hole 8: Par 4, 431 yards from the gold tees
What goes down must come back up, and this hole’s rising fairway to an elevated green requires plenty of club and precision.
Hole 9: Par 4, 421 yards from the gold tees
The challenge here is to get beyond the dueling bunkers to open up the left side of the fairway. Nail it, and you only have landing on the 45-yard green to contend with.
Hole 10: 5, 513 yards from the gold tees
Be bold and drive down the right side, avoiding the fairway bunker, or play it smart and lay up to 100 yards for a wedge to the green.
Hole 11: Par 4, 394 yards from the gold tees
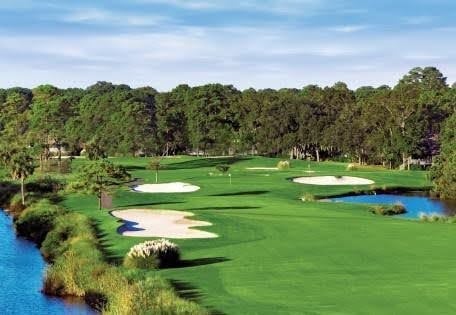
Aim for the water tower on this one, allowing you to cut the corner. Watch that approach shot, though; too long and you’re definitely going to meet some of the local alligators.
Hole 12: Par 3, 387 yards from the gold tees
A tricky dogleg necessitates laser-precise placement off of the tee to avoid trees blocking your approach shot. Even then, wind, bunkers and OB conspire to keep your humbled toward the green.
Hole 13: Par 4, 386 yards from the gold tees
This hole demands precision, from a rail-straight tee shot to iron selection on the approach to the postage stamp green.
Hole 14: Par 3, 185 yards from the gold tees
The wind comes back into play on this hole, but savvy club selection can help avoid trouble on both sides of the approach shot.
Hole 15: Par 4, 445 yards from the gold tees
Beyond the mound on the right of the fairway, this hole opens up into a classic long par four. Clear the front bunkers on your approach to the small green, and stay to the middle.
Hole 16: Par 4, 425 yards from the gold tees
The course’s signature hole pulls out all the stops, with large bunkers on the fairway, copious water hazards, tricky winds and a tiny green between bunker and water.
Hole 17: Par 3, 230 yards from the gold tees
Considered one of the best par threes on Hilton Head, this hole places a tricky water hazard between you and the green, braced by wind.
Hole 18: Par 4, 462 yards from the gold tees
Once again, stay straight off of the fairway to avoid trees encroaching on either side. The elevated green, flanked by two large bunkers on the right and a third on the left, can be tough to reach depending on the wind.
The Fazio course represents one of the purest challenges of skill to be found on Hilton Head Island, a place renowned for its courses. It doesn’t try to bowl you over with jaw-dropping ocean views. It doesn’t try to impress you with gimmicky layouts. Instead, it forces you to think about each shot with a clinical mind, and execute with precision.
Thinking About Palmetto Dunes?
As a Hilton Head native and luxury real estate advisor, I can walk you through what's available, what's coming, and whether Palmetto Dunes is the right fit for your goals. Reach out here — no pressure, just honest answers.
Call John Campbell at (843) 816-0627; Contact Me Here.